Followers

Monday, June 30, 2014

DCWV Timeless Type Junk Journal

Namaste Guys


I am so excited to finally share this album with you guys. I have been working on this album for over two weeks and now is finally done! !

I used the a lot of goodies
  • DCWV Timeless type stack
  • Fabriano Elle Erre Black Card-stock
  • Prima Something Blue ATC
  • Decoupage sheet 
  • Ribbon
  • Distress ink- Vintage photo
  • Laser cut wood pieces
  • Bo bunny Trinkets and brads
  • Pink Paisley diecut tags
  • Recollects frames pattern paper
  • Assorted charms 
  • Letraset pro marker- cocoa for the edges.
  • ATG glue gun
So, here it is

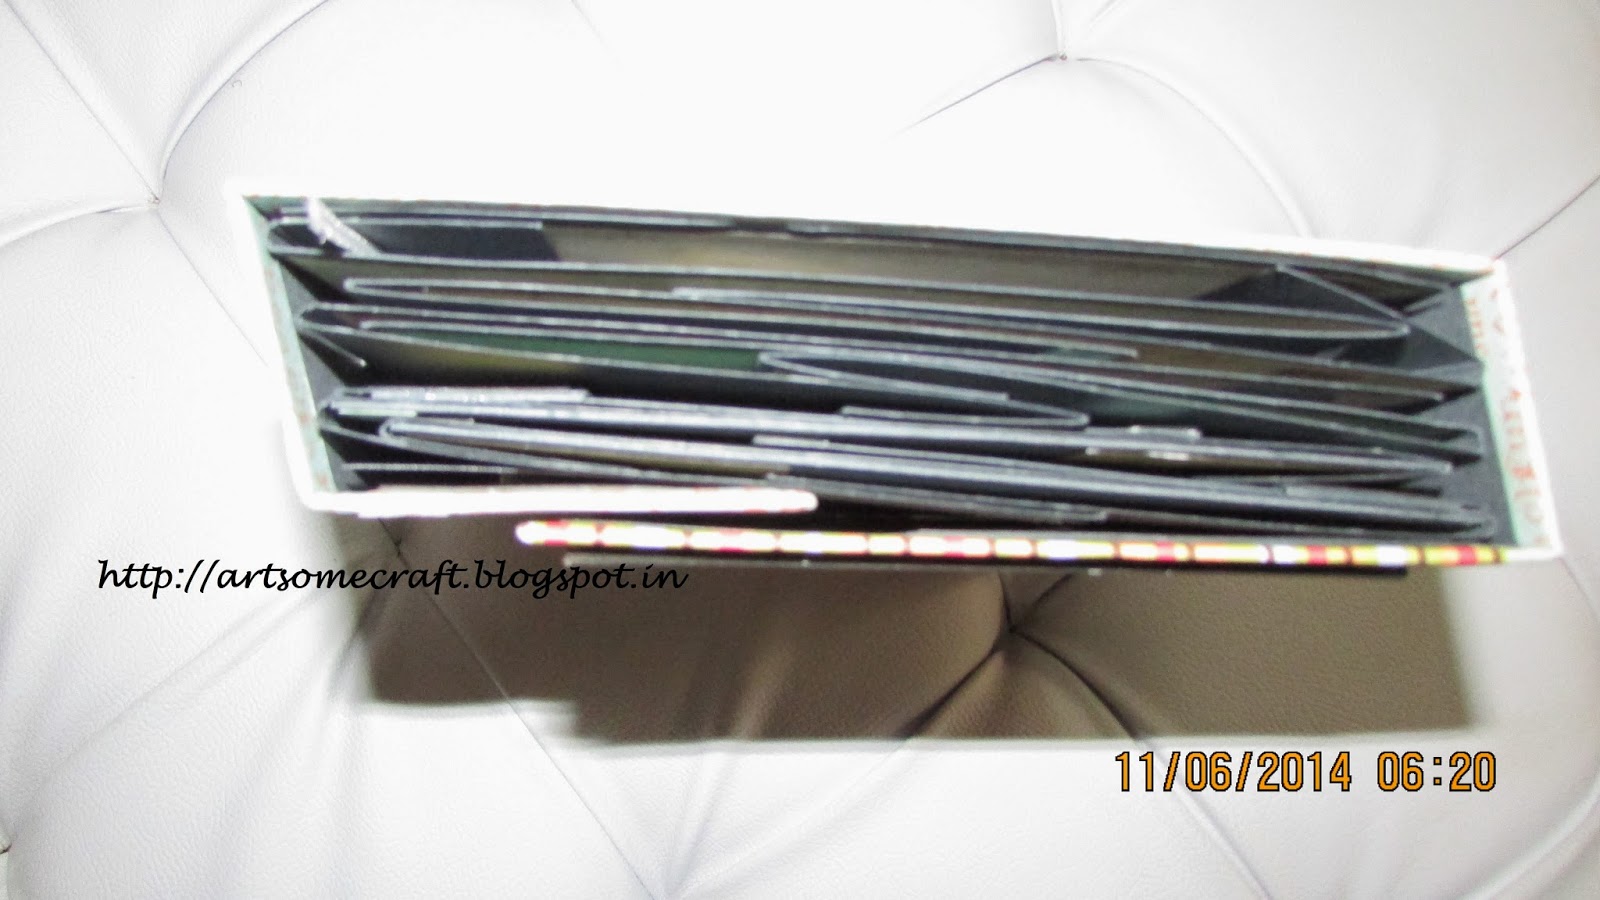
This album has 10 pages(its huge!!) Each are signature style pages with envelopes flips, flaps and pockets none of them are same!. The binding is Coptic style binding but this time i have hidden the stitches on the spine with the spine piece going over the stitching! I created a corseted look and i think i looks almost like a real corset!

The covers measure 8.6" x 5"
The pages all are of length 8.2" with varying widths.

{WARNING PHOTO HEAVY!!}


I created a chain closure and dangled some charms on it . Love Love Love this!


{watch the flip through of this album}


Here are the inside pages!!

The inside front cover has 2 diagonal pockets that hold a lot of tags and some postcards. The first page of the album is an envelope that I made. This album  has a total of 5 such large envelopes.


Left is a large envelope hat holds photo-mats.
on right a Simple corner pocket for a tag.


On the left you have some small pockets with Polaroids in them as well a little wooden camera that holds a tiny envelope. This is an envelope with a tag in it.


The tag that is inside the tall envelope folds out as well.


The long tag goes into the pocket and there is a belly band across it which holds two small tags


Pockets for Polaroids, you can slide more photos in it and use the plain background for journalling


Simple frame attached with eyelets on all four corner.


I added this lamp laser cut and added some Polaroids under it


I added a laser wood bicycle and used it as place to tuck in some atc's and a tag.


This next page flips out and has tags and pockets .


This page is a slider pocket  and you can add pictures and journaling on both side of these slider tags they are long mats. There is a little tag pocket on the front of the pocket which holds tiny little tags.

The last page has a pocket which hold some tags and post cards.
As well as a ticket embellishment on the bottom.


This is the back cover. I kept it plain as the album was so heavy didn't want any embellishments getting damaged.

Hope you guys loved it as much as I did making it.
Ciao
Ash

Saturday, June 28, 2014

Shabby chic Paris scrapbook Journal

Namaste Guys

A really dear friend of mine asked me to make her a scrapbook. Ans when i asked her what theme or papers and color scheme she wanted she told me she wanted a "Paris Themed" album.
So, I was lucky I had this Paris theme kit and the papers were perfect for what i wanted to make for her. She wanted a distressed shabby chic look she had seen a few of my projects and pointed out what she liked , rest she left up to me.
I just took a deep breath and imagined I was making it for myself and believe me I told her I actually wanted one for myself too. Lol!!
All said and done here is what it looks I just love how it turned out , it has tons and tons of pockets and envelopes as well pages to write and tags and photo mats.

{WARNING PHOTO HEAVY!!}


Here, is the flip though of the album!!


Thanks for visiting!
Don't forget to subscribe!!

Ciao
Ash

Wednesday, June 25, 2014

Special delivery baby boy mini album

Namaste guys

Am back with another mini album and this one is cogent from what I usually make this is a baby boy themed mini.  I just loved planning and designing this mini. 
So I have a serious of tutorials of how I made this whole album from start to finish


Materials used 
-Pebbles pattern paper 6x6 Special Delivery
-Elle erre Fabriano White card stock
- DCWV Travel kit blue card stock
- Baby Boy Brads
- Baby Boy crochet embellishments
- Baby blue ribbon(for binding)
- Medium weight chipboard
- Special Delivery Tags from kaiser kraft


Watch the flip through of the finished Album


The inside pages


Part-1
Tutorial for Signatures 1 and 2


Part-2
Tutorial for constructing 3rd page signature


Part-3
Tutorial for constructing 4th page signature.

Part 4
Tutorial for constructing 5th page signature.


Part 5
This is the tutorial for making the covers of the mini album.. I used medium weight clipboards and a large sheet of white card stock to cover it.


Part-6-Binding
This is the final part here i show you how I do the binding of the signatures to the cover using 1/8th " satin ribbons.


Thanks for stopping by..
Don't forget to subscribe!!!
Ciao
Ash

Wednesday, June 11, 2014

Brothers- Gatefold Mini Album

Namaste Guys

A friend of mine ordered a mini album for his nephews.I Decided to design a Gate-fold style mini so it had similar and equal pages for each boy and the pages would look amazing when flipped open. Just love the idea of a gate-fold for adding photos of two people and view them side by side!! 

[WARNING -PHOTO HEAVY!!]


Here, is the video of how it works the flip outs, pull outs tags and photo mats and such!!


Here, is a close look at all the other pages.


Don't forget to subscribe!!
Ciao

Ash