Followers

Showing posts with label Diy Jewellery. Show all posts

Thursday, February 26, 2015

Decoupaging with Ice Resin

Namaste Guys

What is Decoupage?

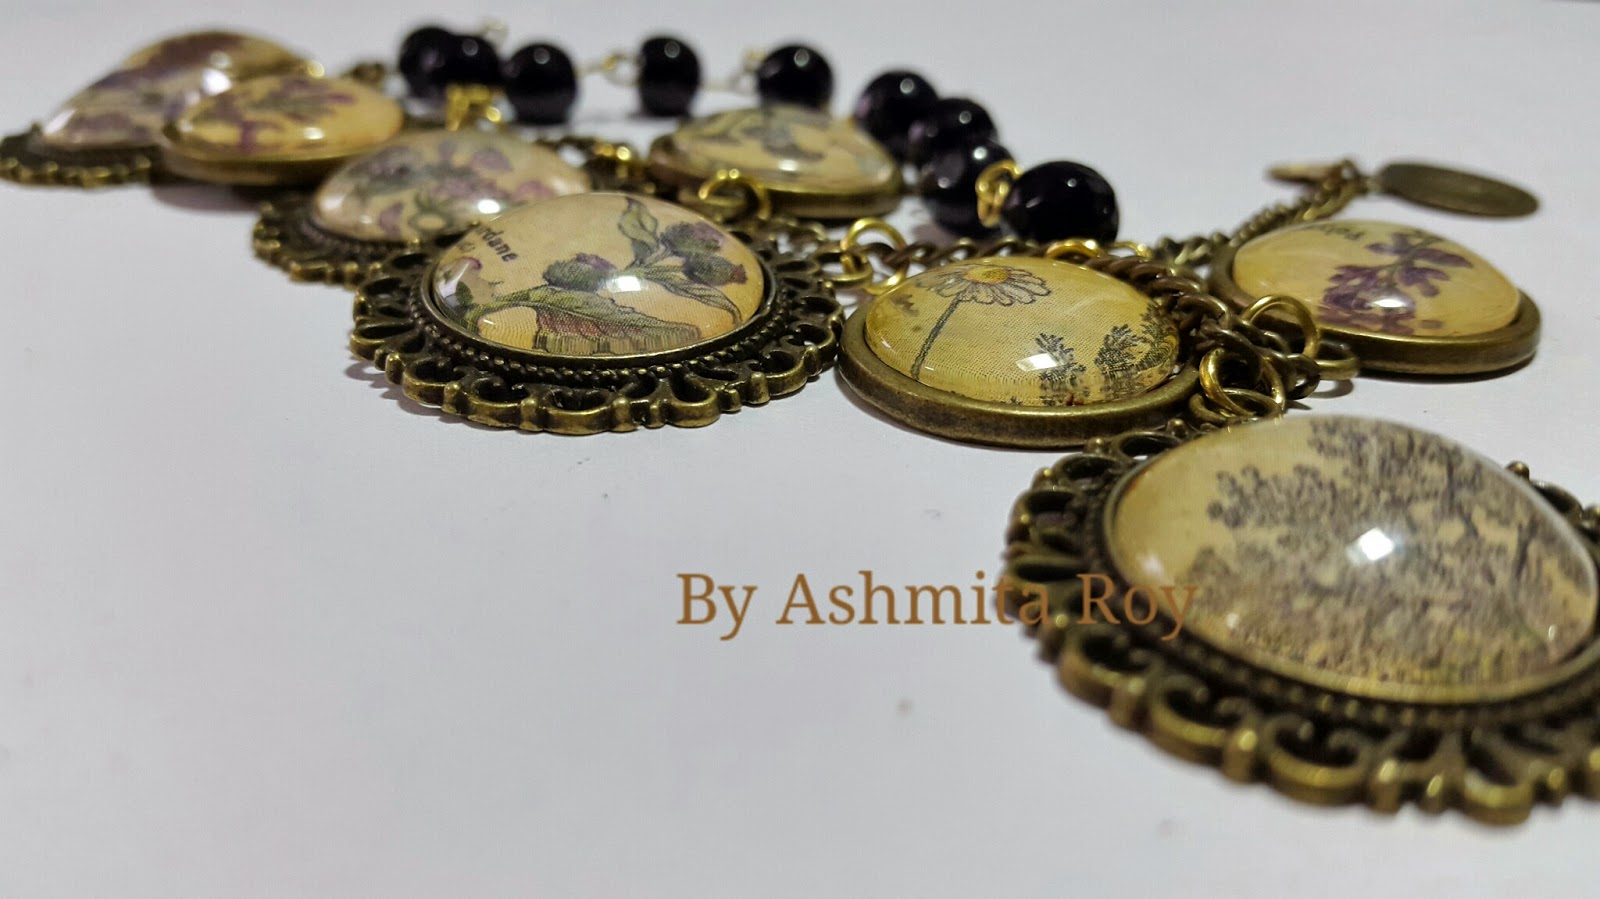
Decoupage (or découpage) is the art of decorating an object by gluing colored paper cutouts onto it in combination with special painteffects, gold leaf and so on. Commonly an object like a small box or an item of furniture is covered by cutouts from magazines or from purpose-manufactured papers. Each layer is sealed with varnishes (often multiple coats) until the "stuck on" appearance disappears and the result looks like painting or inlay work. The traditional technique used 30 to 40 layers of varnish which were then sanded to a polished finish.

Watch the full video tutorial of the Tag in the making . The Resin was so versatile and easy to use as a decoupage medium and also as a glue!


The best part about using Ice Resin as a decoupage agent you don't need to use any glue or varnish and you get a really awesome finish. 

Thanks for visiting.

Don't forget to subscribe!

Ciao


Friday, February 20, 2015

"Captured in Glass" Ice Resin pendants tutorial


Namaste Guys


We have been playing with Ice resin for the past couple of weeks and hence, I want to continue bringing to you guys some more different techniques to use this wonderful product.  I am going to show you guys how to create the “Captured in Glass” effect with Ice resin.
 
Ice Resin Kit comes with mixing cups and mixing sticks. Additionally the following items are also helpful; paint brush, tooth picks, tweezers, scissors, small sponge and a needle or pin for popping bubbles.
 
  • In order for the resin to cure properly, you will need to use at least equal amounts of both the resin and the hardener. If the item you are working on is small, you may want to have multiple pieces ready to make the best use of your resin. From the time you mix the resin it is usable for 45 minutes. After that it will begin to set and must be discarded.

  •  
  • Natural drying or setting time is best in a dust free area. You can cover the pieces with a box to prevent dust settling. It takes approximately 24 hours at 72° which is the optimal room temperature for mixing resin. Any cooler and you will have difficulty stirring and removing bubbles. Curing time is three days. If you need to speed up the process, use a toaster oven set at 85 to 90 degrees for 12 hours or 120 to 130 degrees for 2 to 3 hours for curing. Do not heat cure your resin piece until the pot life has expired.


  • If you choose to use paper in your design, I recommend coating the paper with Mod Podge® or other sealer. This will prevent the paper from bleeding or forming "water spots".


  • You guys may have come across several pendants that have little pieces  in them that seem to be floating in between glass and wondered how it was done well this is how!

    Here is the full video tutorial


     Here are the finished pendants.


    Thanks for visiting.

    Don’t forget to Subscribe!!
     

    Ciao
    Ashmita Roy

    Sunday, February 1, 2015

    WHAT IS ICE RESIN ?

    Hello everyone

    I am not sure how many of you have heard about Ice Resin , but I am sure a lot of you are aware of what Resin is. Resin is used to create pendants and bezels and much more!
    Ice Resin is a revolutionary new product that takes 5 minutes to prep and you can start to play with it and after you are done it need to cure for 24 hours. Its an amazing product that you can use to create several different looks with and create jewelry , charms, pendants, altered art Etc.


    Pendant #1

    Micro rose in a miniature glass vial.. I think it turned out just beautiful.


    Pendant #2

    Backed with pattern paper and then a leaf charm set in a Micro frame. 


    Pendant #3

    Micro Flowers in a round antique pendant.  


    Thanks for visiting
    Don't Forget to Subscribe!!

    Ciao
    Ash


    Monday, December 15, 2014

    How To: Ephemera Charm Bracelet

    Namaste Guys


    Am back with another technique filled fun video!! A lot of you wonder how to use the Glass Cabochons and incorporate them on your projects well here is how!! 

    Glass Cabochons are very versatile and the possibilities are endless you can use them in many ways as charms, accents and also as jewelry pieces. You can create them in several different ways and use photos pattern paper, scraps and even decoupage napkins.

    I love charm bracelets and when I saw this really awesome Ephemera papers with beautiful flowers and foliage in shades of purple I just knew I had to create a collection of charms to make a personalized one of a kind bracelet!! 


    Watch the earlier video on how to put together charms jump rings and chains!


    Thanks for Visiting.
    Don't forget To Subscribe

    Ciao
    Ash

    Wednesday, December 10, 2014

    Mini album box set

    Namaste guys 

    Here it is my favorite papers and one of my most detailed projects. 
    This is like a box set of two mini albums His and Her i loved creating this.  The drawer at the bottom is also functional. Very heavily embellished I just love the way it turned out.


    Thanks for visiting.
    Don't forget to subscribe. 
    Ciao 
    Ash

    Saturday, November 8, 2014

    The Charmed Class


    Namaste Guys

        We all love our charms! The possibilities for them are endless. Do you know how the tradition of using them on craft project started? In olden day people didn't have ready made stickers , die cuts or other pre-made embellies we have today!! So, they got creative and started to use what they have to embellish and add interest to their letters, diaries and journals!! These were the first beginnings of scrap-booking collecting letters and photos and tickets, and such in diaries!! People began to use broken jewelry and jewelry findings to adorn and embellish their pages!! And till date this practice has evolved where there are charms and findings created for the passionate Crafter!

    Now on with my today's post and I am so super excited. I have had so many requests for tutorials that I had to comply and here it is!

    Today is not just a post but a class!! Although you all are very creative and love your charms, but, this is a back to basic of how else to use your charms! So, you can get more from them and use them in not only your cards, scrapbooks and altered art, but in daily use things and make fun stuff for gifts ( Christmas is coming !! Hint! hint!)

    Here it is my Charmed Class and if you have any requests and queries leave them for me in the comment!!


    All the things you will learn

    Custom Key Chain


    Cellphone Charm


    Charm Bracelets


     Contemporary Necklace

    Materials used


    Thanks for Visiting.
    Don't Forget to Subscribe!!
    For any queries leave a comment!

    Ciao
    Ash